 PawnEasy Pro
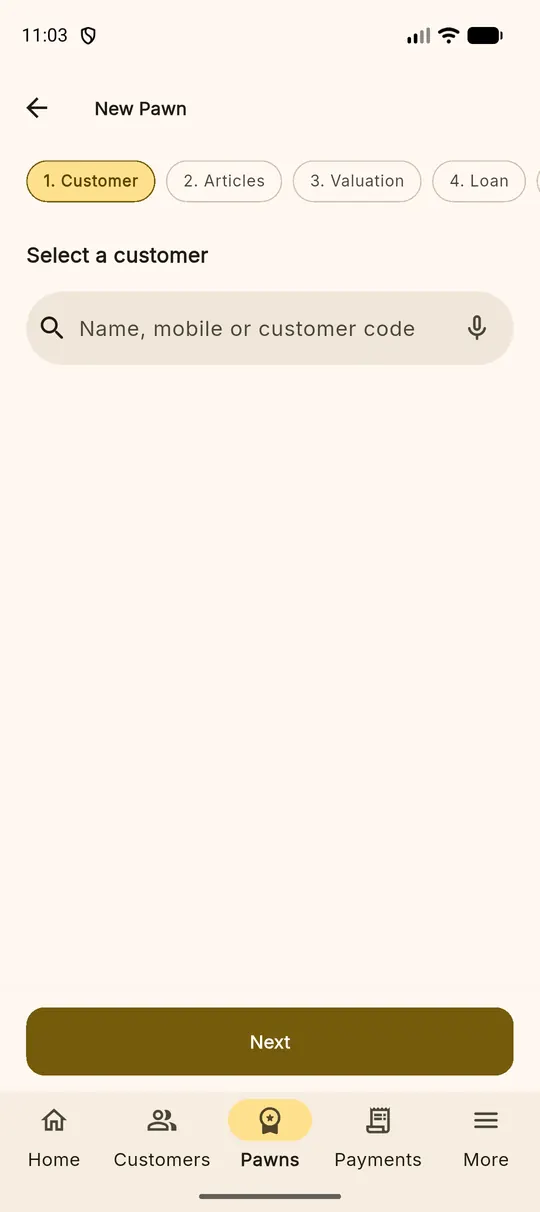
Start from New Pawn — the button is on the dashboard and on the Pawns tab. The chips across the top show where you are; you can go back to any completed step without losing what you typed.
Set today's rate first Step 3 needs a rate for the karat you are lending against. If the dashboard is showing No gold rate for today, deal with that first — it takes ten seconds. See Gold rate and strongroom.
Step 1 · Customer
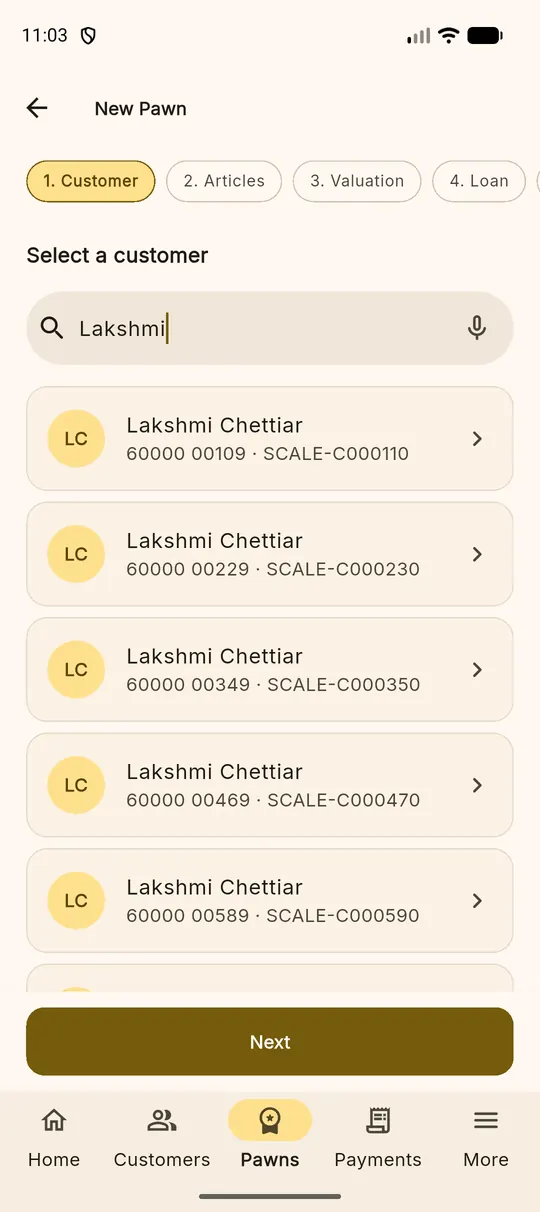
Type a name or a mobile number. Matching customers appear as you type; tap the right one and their card fills the top of the screen. If nobody matches, New customer opens the same form described in Customers and comes back here with the new person selected.
Step 2 · Articles
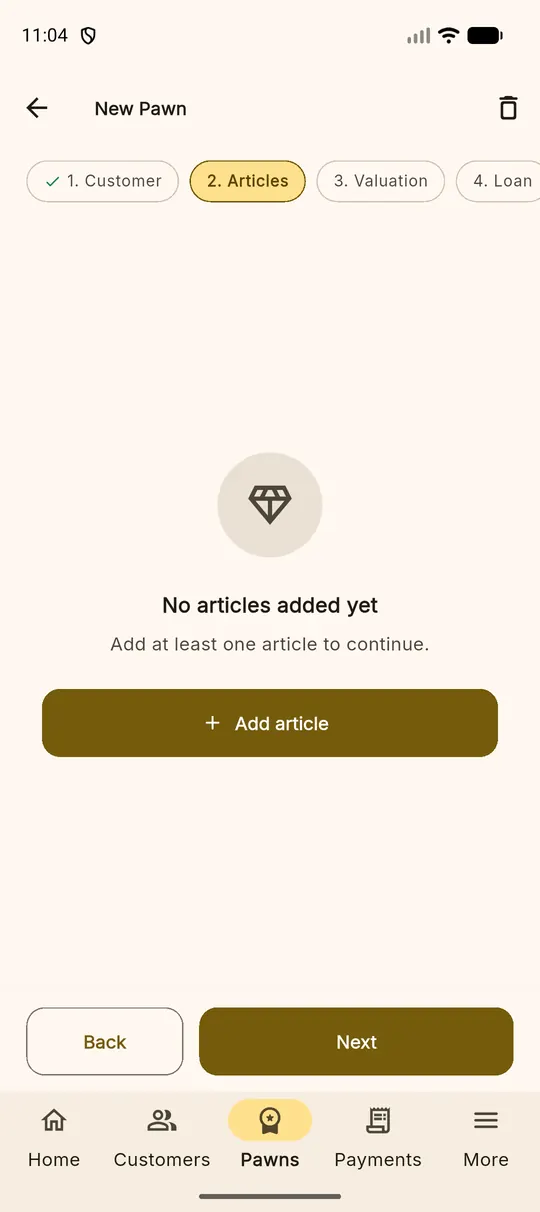
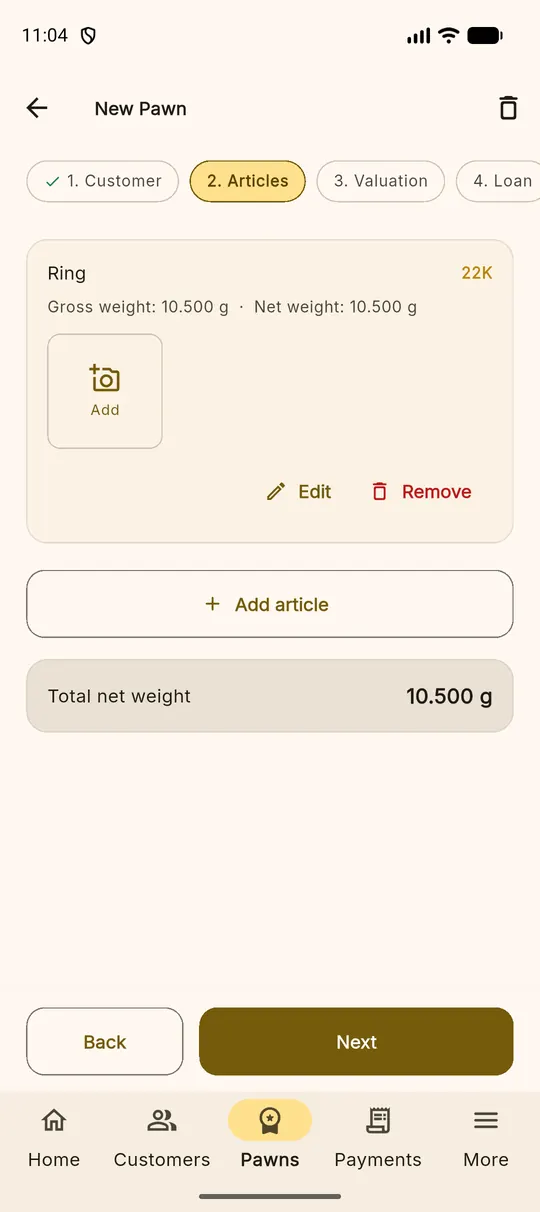
Add each article separately — a chain and two bangles are three articles, not one line of "3 items". Tap Add article and fill in:
| Field | What to put in it |
|---|---|
| Category | Ring, chain, bangle, coin, bar, earrings, other |
| Item description | Anything that helps identify the piece later — "thin two-tone chain, broken clasp" |
| Gross weight | What the scale reads, in grams |
| Purity | The karat you are treating it as |
| Stone weight | Stones, beads and thread that are not gold |
| Wastage | Your customary deduction for solder and loss |
| Hallmark number | If the piece carries one |
| Store this article in | Which locker, bank or custodian it goes to when the customer leaves |
Net weight is worked out for you as gross minus stone minus wastage, and it is the weight the loan is based on. Photographs of the article can be attached here too — they are the cheapest insurance a shop can buy against a later argument about condition.
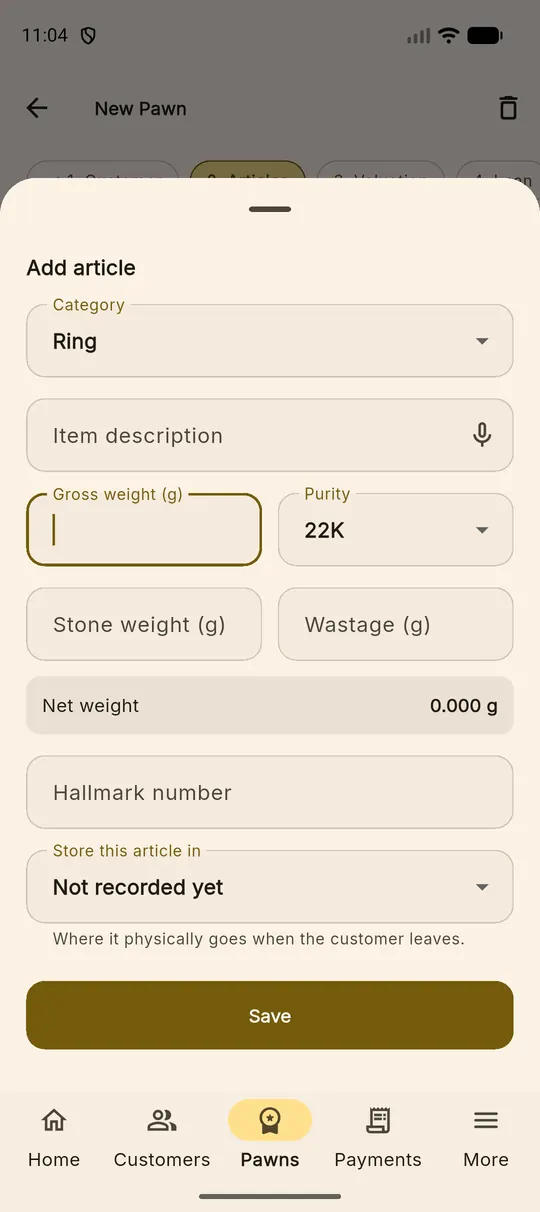
Choosing the locker now saves a search later The place you pick here is recorded as part of taking the gold into custody, so the strongroom is right from the first minute. If you are not sure yet, leave it as Not recorded yet and place it from the storage page afterwards.
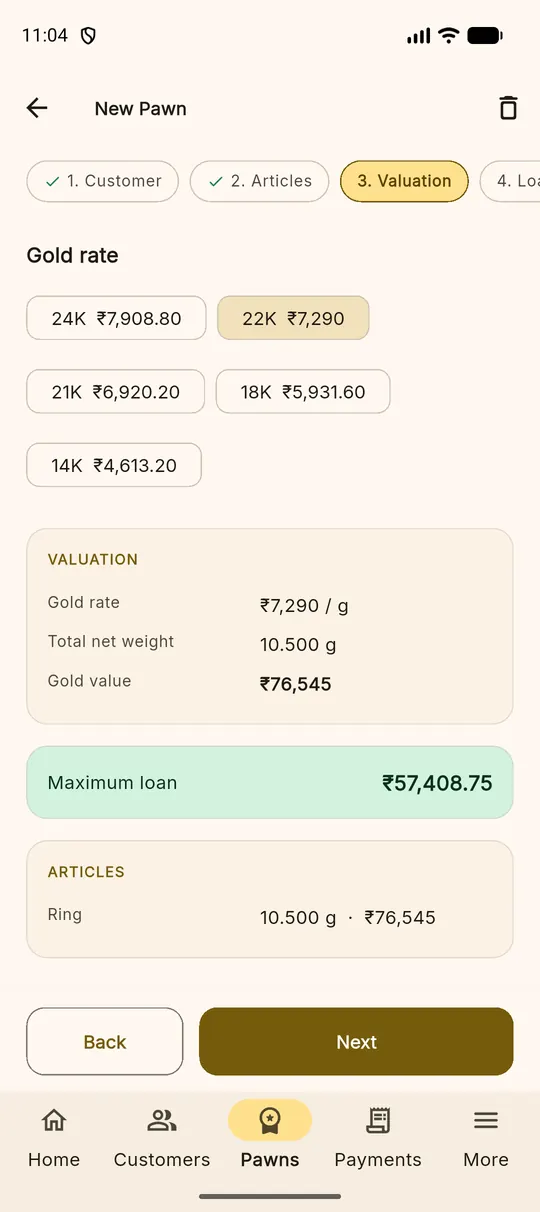
Step 3 · Valuation
The karats you published this morning appear as chips with their rates. Tap the one you are valuing against and the card underneath fills in:
- Gold rate — per gram, for the karat you chose
- Total net weight — added up from the articles
- Gold value — rate × net weight
- Maximum loan — the most you may lend on that value, from your lending policy
The article list at the bottom shows what each piece contributed, so a customer who asks why the chain is worth more than the ring gets an answer from the screen.
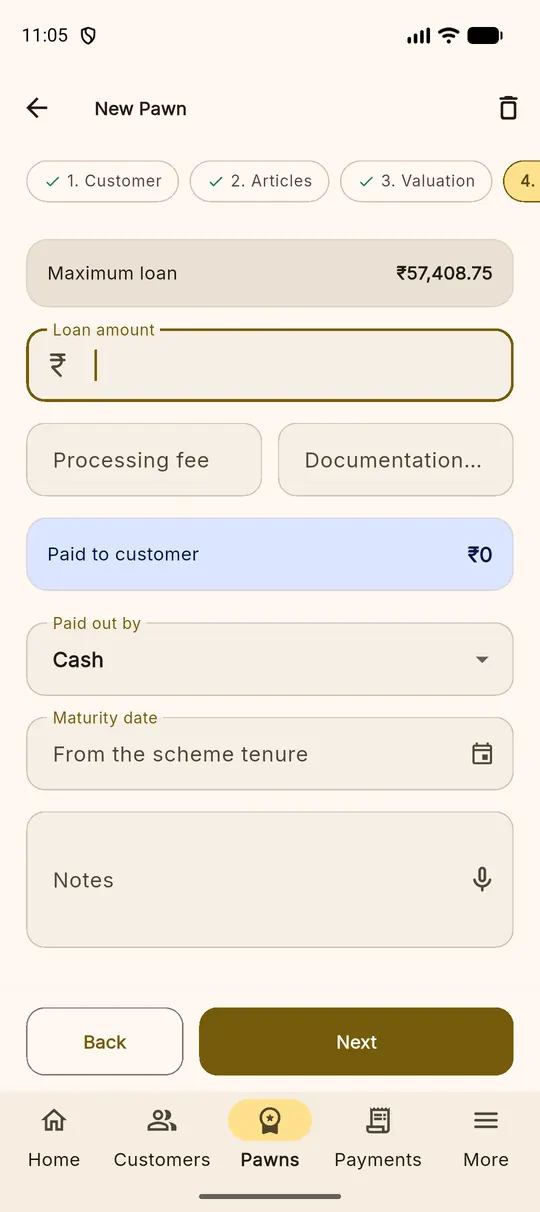
Step 4 · Loan
Now the money. The maximum sits at the top as a reminder; type what you are actually lending underneath.
| Field | Notes |
|---|---|
| Loan amount | What the customer is borrowing. More than the maximum is refused. |
| Processing fee | Deducted from what you hand over |
| Documentation charge | Deducted the same way |
| Paid to customer | Worked out for you — the cash that actually crosses the counter |
| Paid out by | Cash, bank transfer or UPI |
| Maturity date | Left alone, it follows the scheme tenure; tap the calendar to set a different date |
| Notes | Anything you want on the record |
Step 5 · Review
One screen with everything on it: the customer, the articles and their weights, the valuation, the loan and its terms, and what the customer takes away. Read it aloud to the customer if that is your habit — this is the moment to catch a weight typed as 105 instead of 10.5.
Create pawn writes the loan. In one action it takes the articles into custody, places them where you said, records the payout, and produces the pledge receipt.
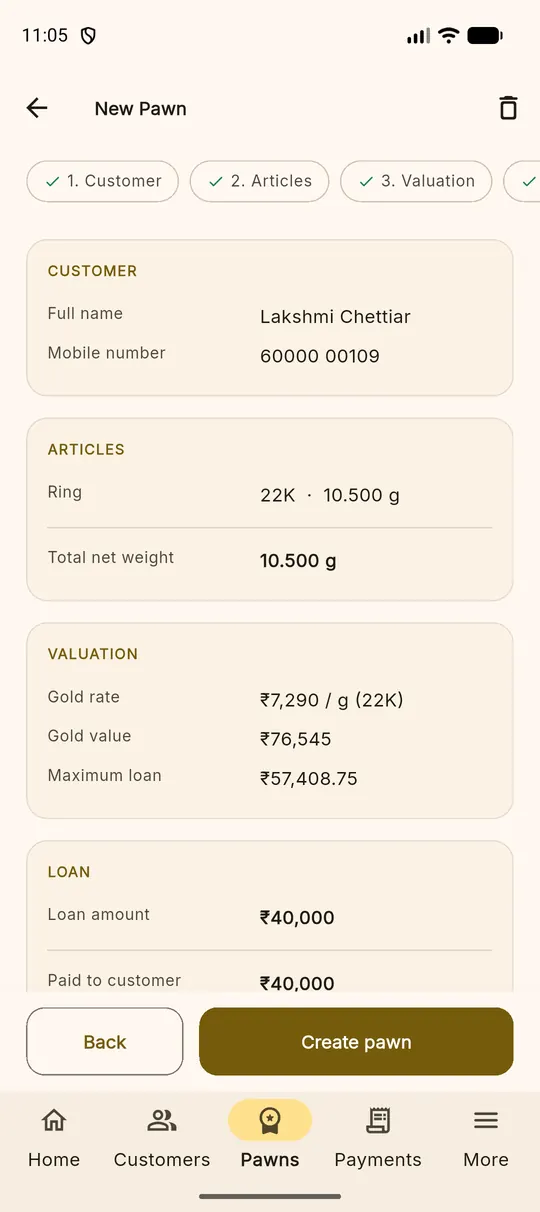
Changed your mind? The bin icon at the top right discards the draft. It asks first, and nothing has been written to your books until Create pawn is tapped.
After the pledge: the loan page
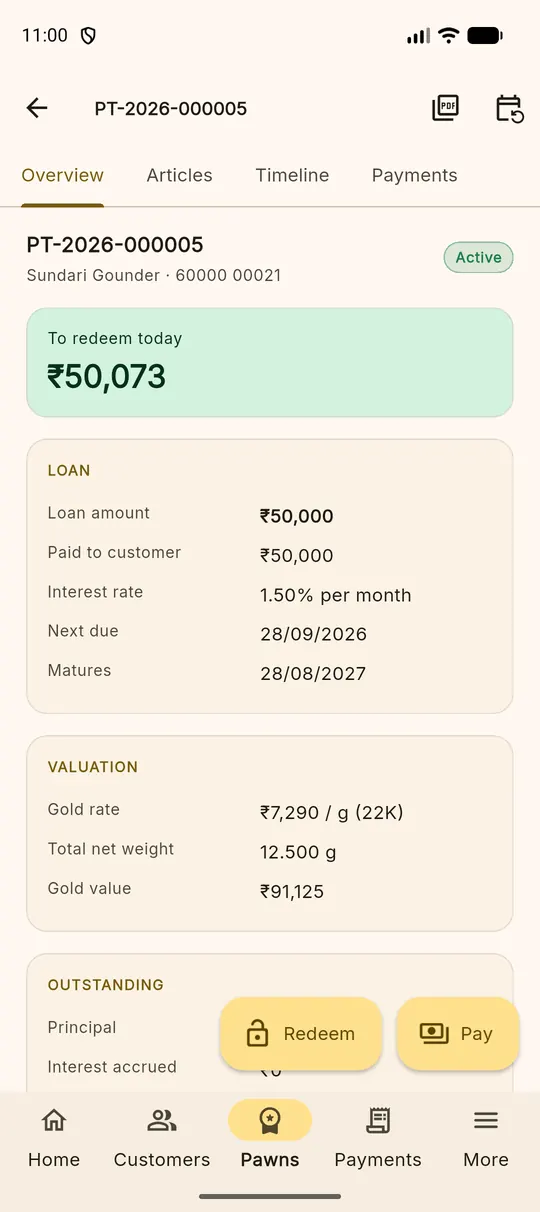
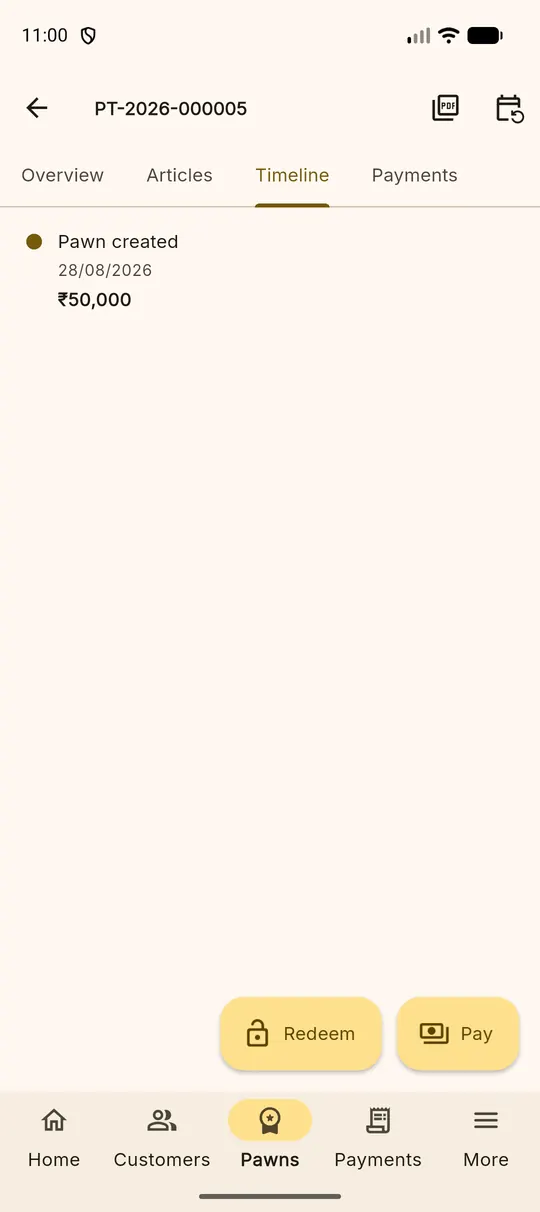
Every loan has its own page, reached from the Pawns tab or from the customer. The header carries the loan number and its status, and four tabs hold the detail:
| Tab | What it shows |
|---|---|
| Overview | Principal, interest accrued, total due today, dates and terms |
| Articles | Each article with weights, purity and where it is kept |
| Timeline | Everything that has happened to this loan, in order |
| Payments | Every payment against it, with receipt numbers |
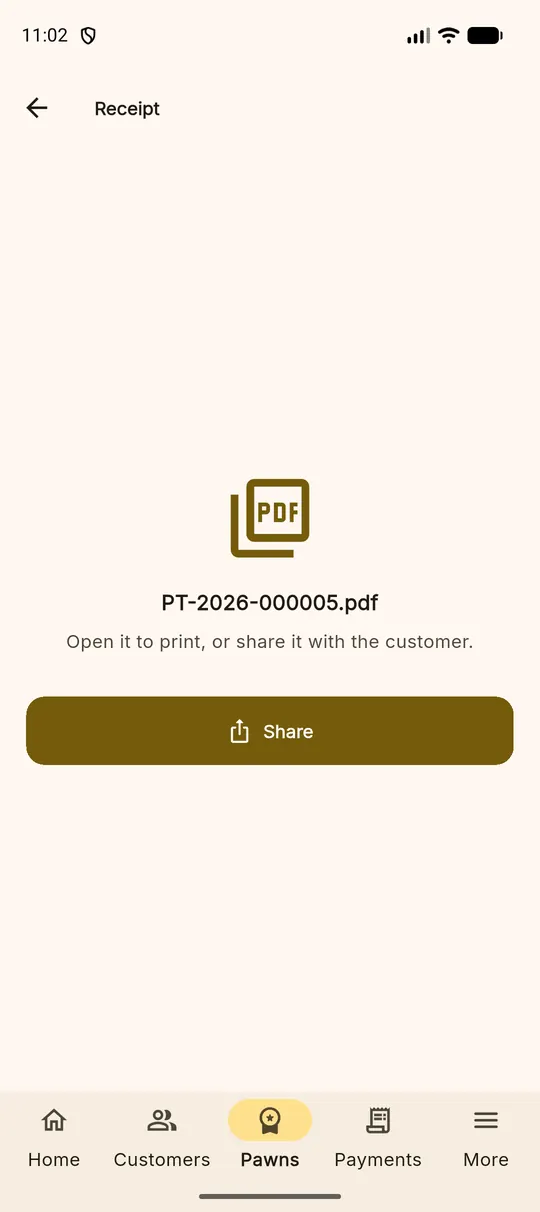
Two buttons sit at the bottom — Pay and Redeem — and two icons at the top: the PDF receipt, and a calendar that extends the maturity date when a customer asks for more time.